-
-
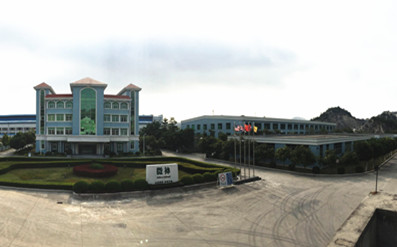
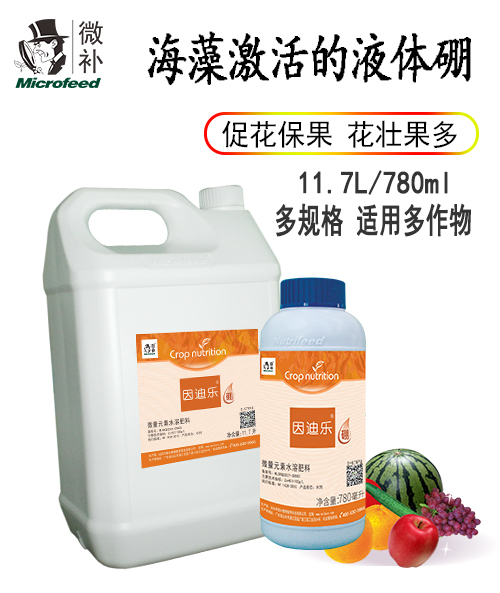
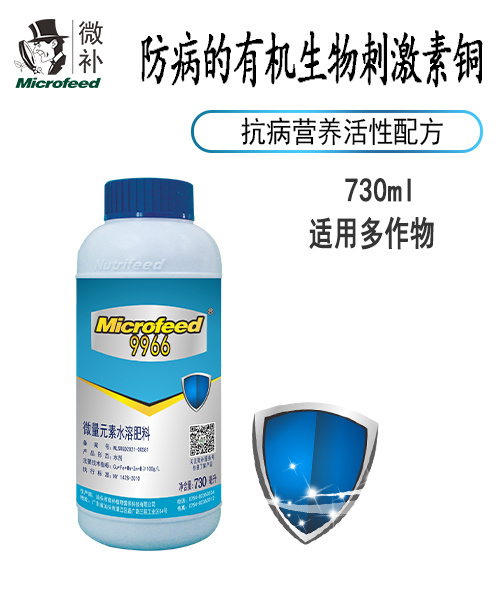
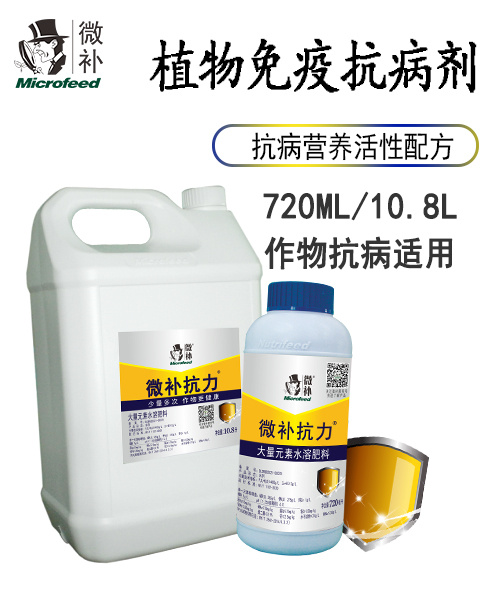
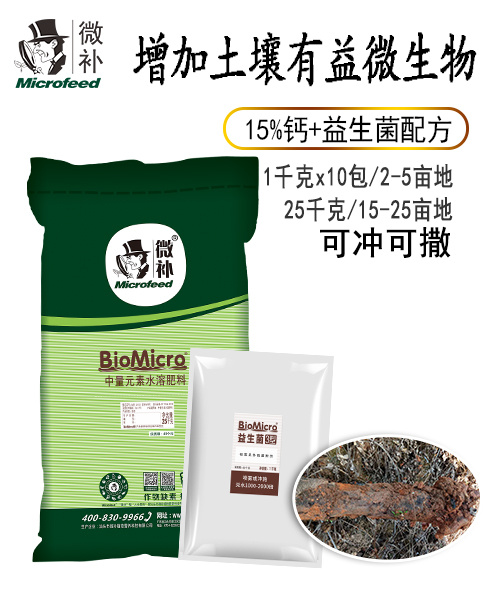
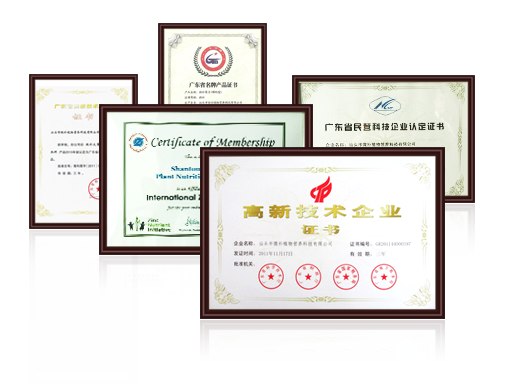
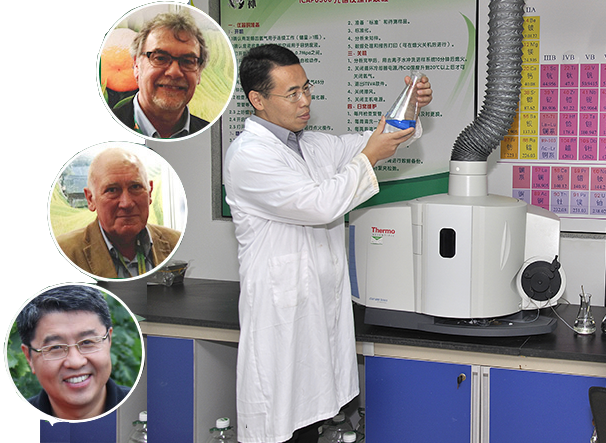
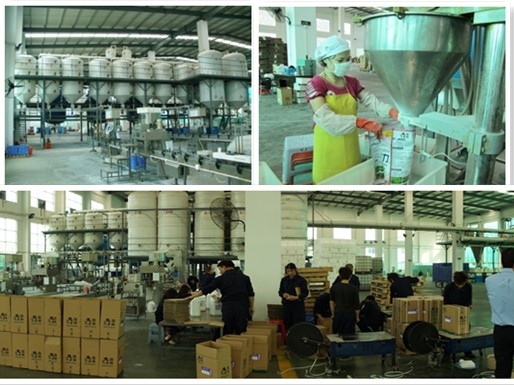
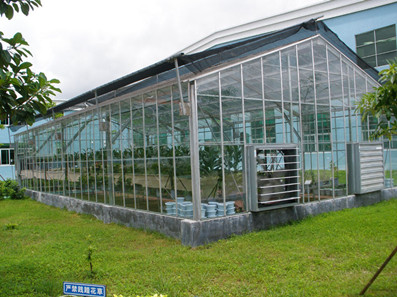
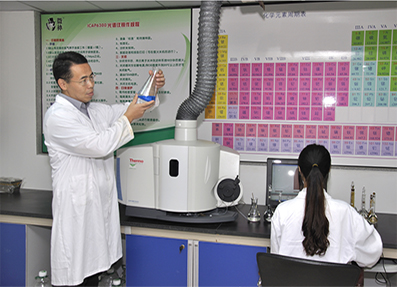
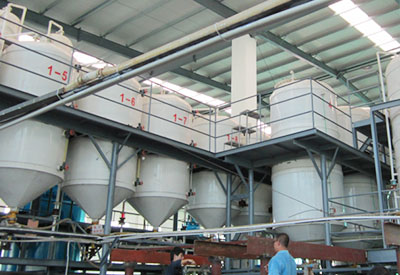
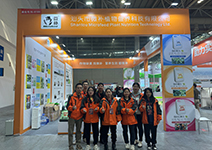
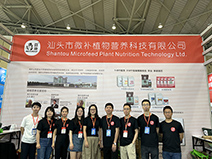
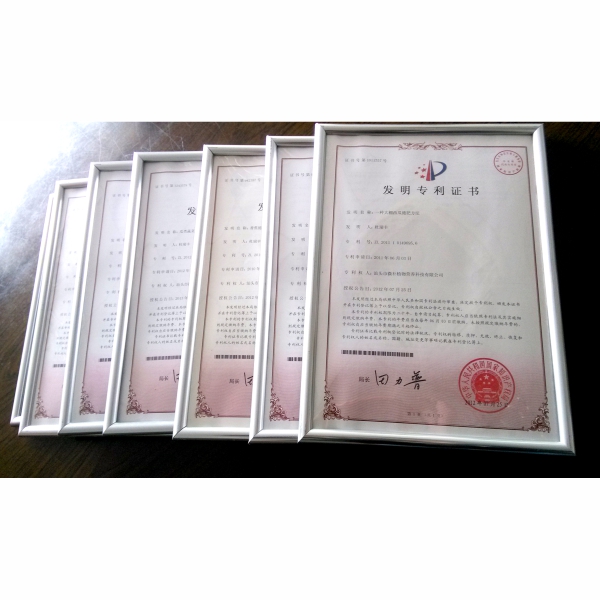
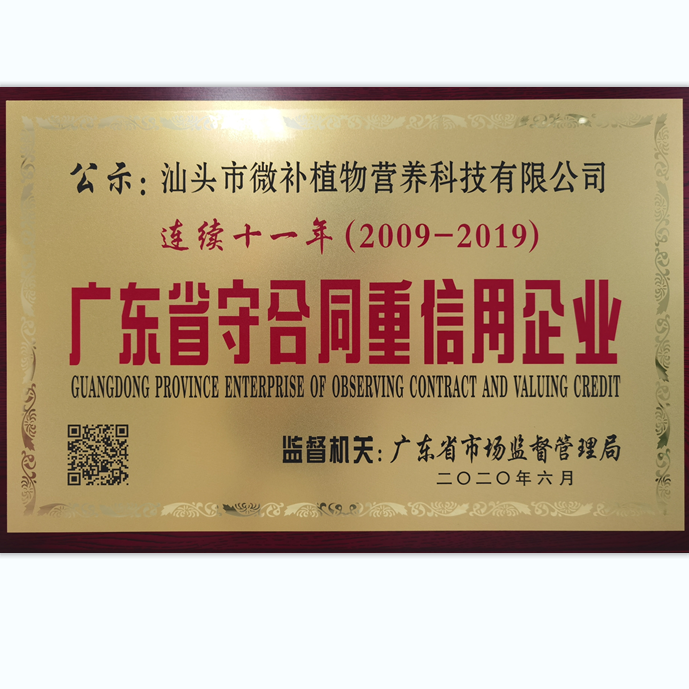
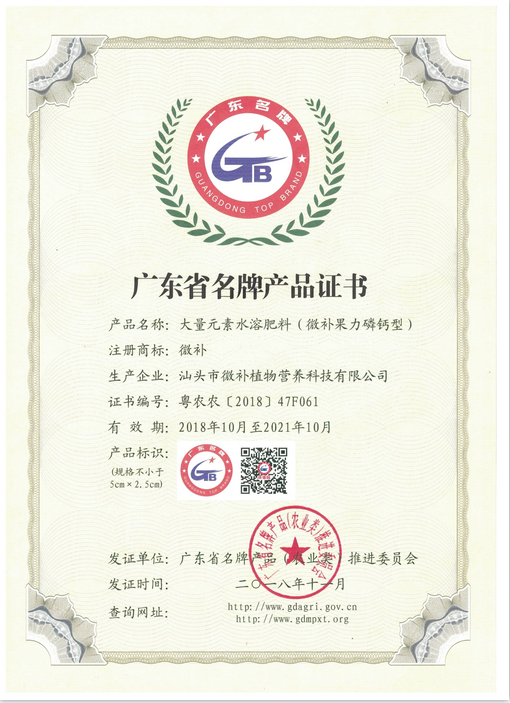
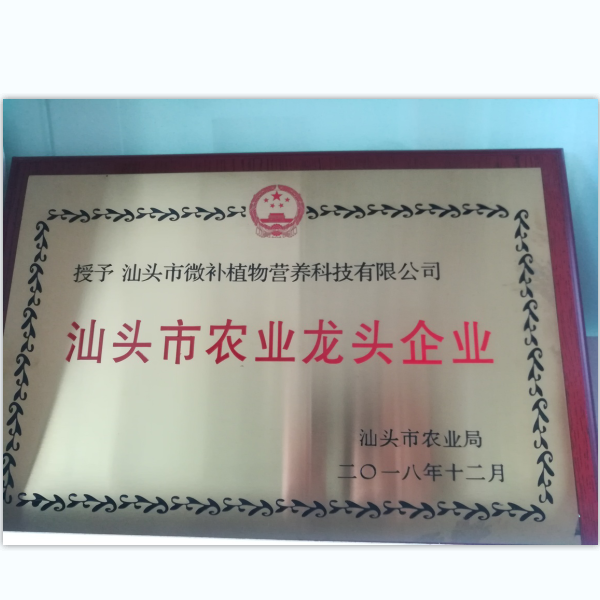
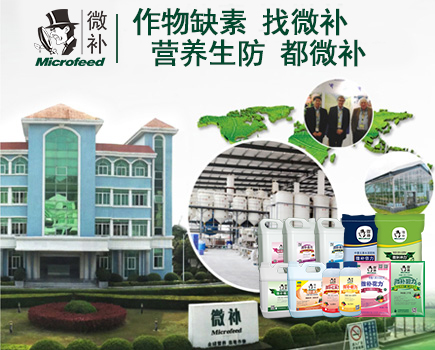
汕頭市微補(bǔ)植物營(yíng)養(yǎng)科技有限公司�,由植物營(yíng)養(yǎng)專(zhuān)家?guī)ьI(lǐng)的微肥企業(yè)����,針對(duì)多種農(nóng)作物,有100多個(gè)微肥產(chǎn)品����,涵蓋葉面肥、沖施肥�、水溶肥等。投資額高達(dá)8000萬(wàn)元��,是集研發(fā)�����、生產(chǎn)���、銷(xiāo)售和服務(wù)為一體的高新技術(shù)微肥企業(yè)。微補(bǔ)公司與英國(guó)英迪克公司(Indigrow)為戰(zhàn)略合作伙伴�����,根據(jù)中國(guó)農(nóng)作物需求���,不斷研發(fā)創(chuàng)新植物營(yíng)養(yǎng)新配方���、新制劑同樣養(yǎng)分含量的產(chǎn)品�����,提高作物吸收利用率���。
【查看詳情】
-
-
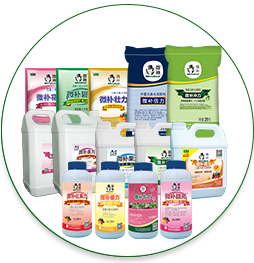
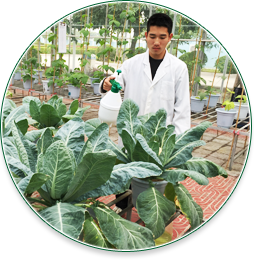
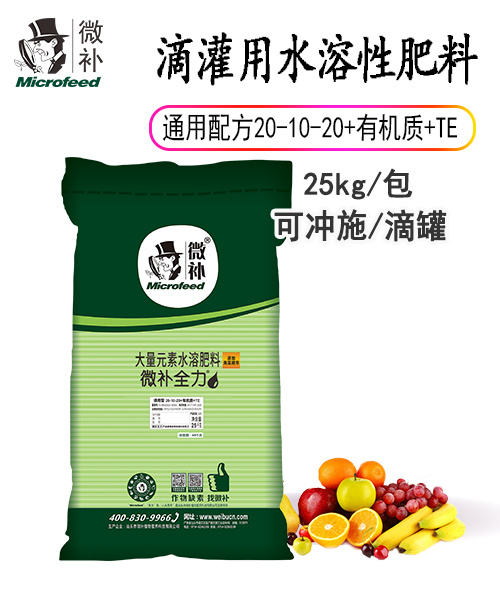
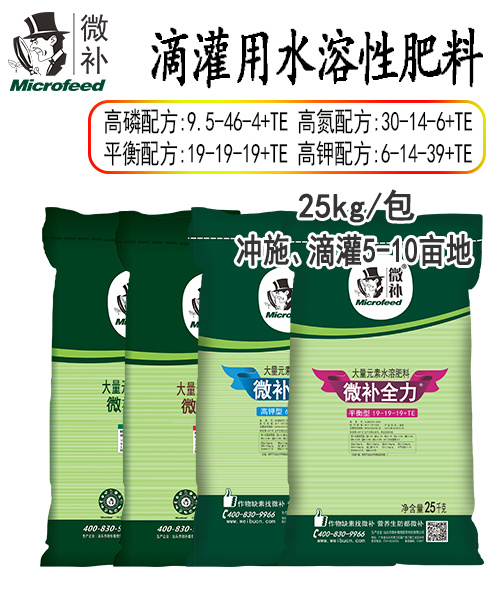
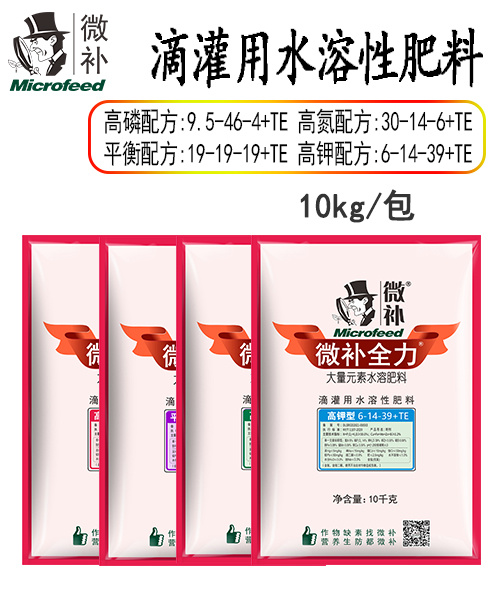
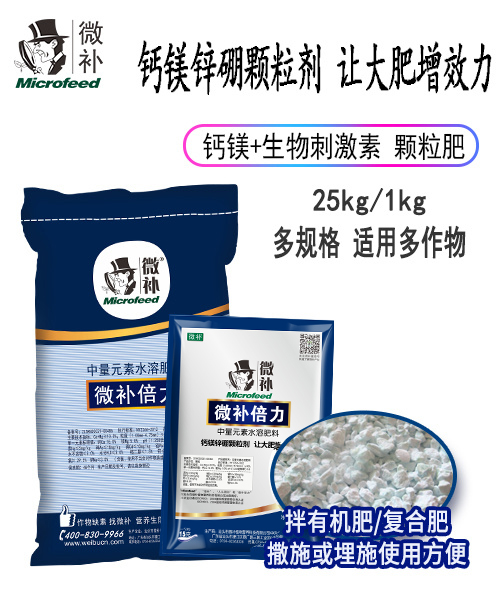
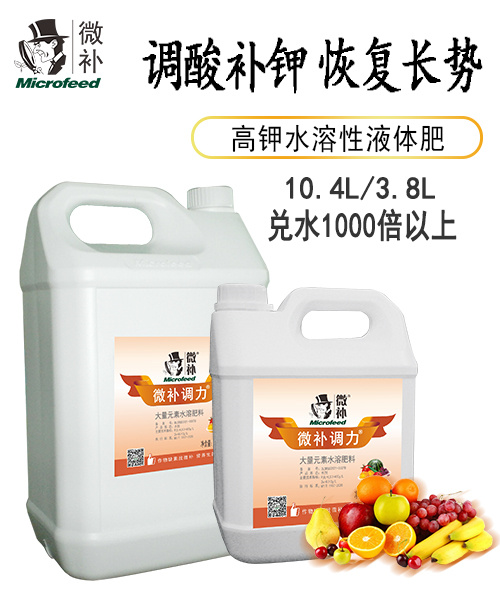
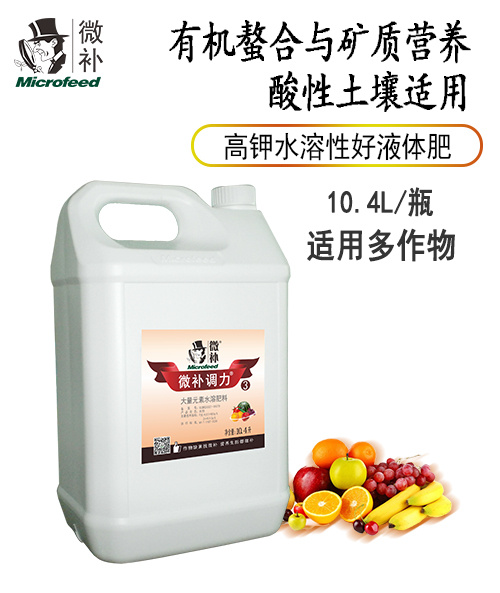
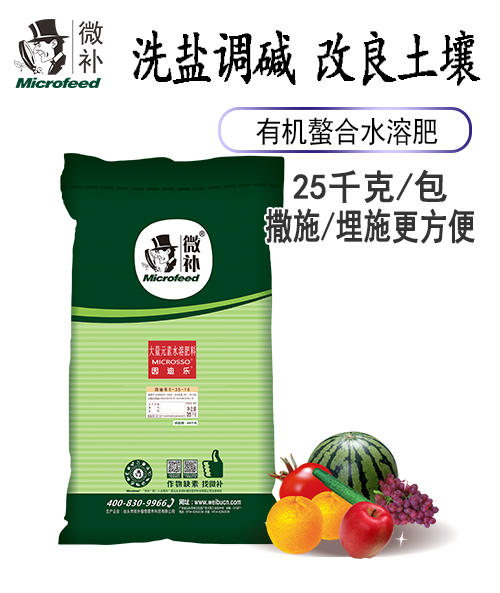
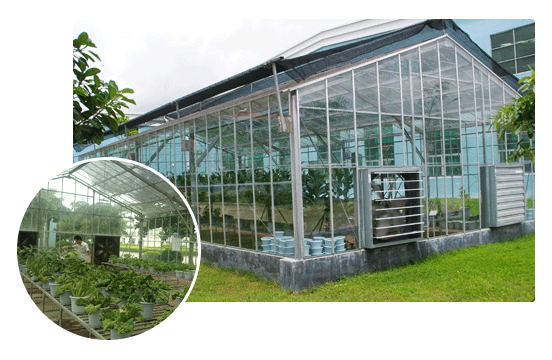
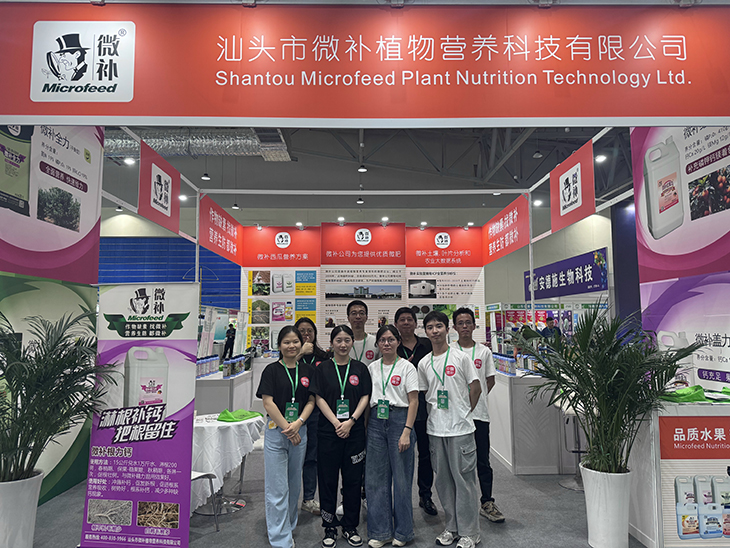
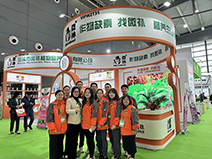
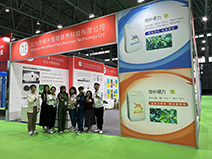
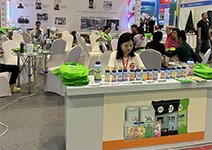
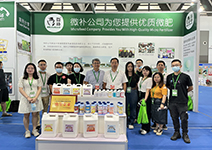
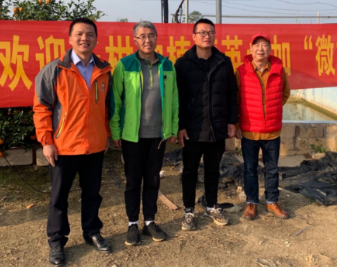
在展會(huì)上,我們展示了微補(bǔ)全系列產(chǎn)品����,長(zhǎng)效顆粒劑、土壤調(diào)理劑����,中微量元素水溶肥等功能性肥料,同時(shí)也展示各個(gè)地區(qū)�,多種作物使用案例,效果反饋�����;植物營(yíng)養(yǎng)專(zhuān)家現(xiàn)場(chǎng)直接與客戶(hù)交流���,指導(dǎo)作物種植管理技術(shù)����,個(gè)性化定制專(zhuān)用方案,給客戶(hù)提供免費(fèi)土壤檢測(cè)服務(wù)����。微補(bǔ)產(chǎn)品廣泛應(yīng)用于果場(chǎng)、苗圃�、大棚基地、小型果園菜園等���,助力作物提質(zhì)增產(chǎn)��。
【查看詳情】
-

-
冬季或早春,溫度驟然下降必然導(dǎo)致作物受凍�,比如霜凍、寒潮���、凍雨�����、雪災(zāi)等自然現(xiàn)象都會(huì)對(duì)作物產(chǎn)生影響�����。那么如何區(qū)別凍害和冷害呢��?
【查看詳情】
-
-
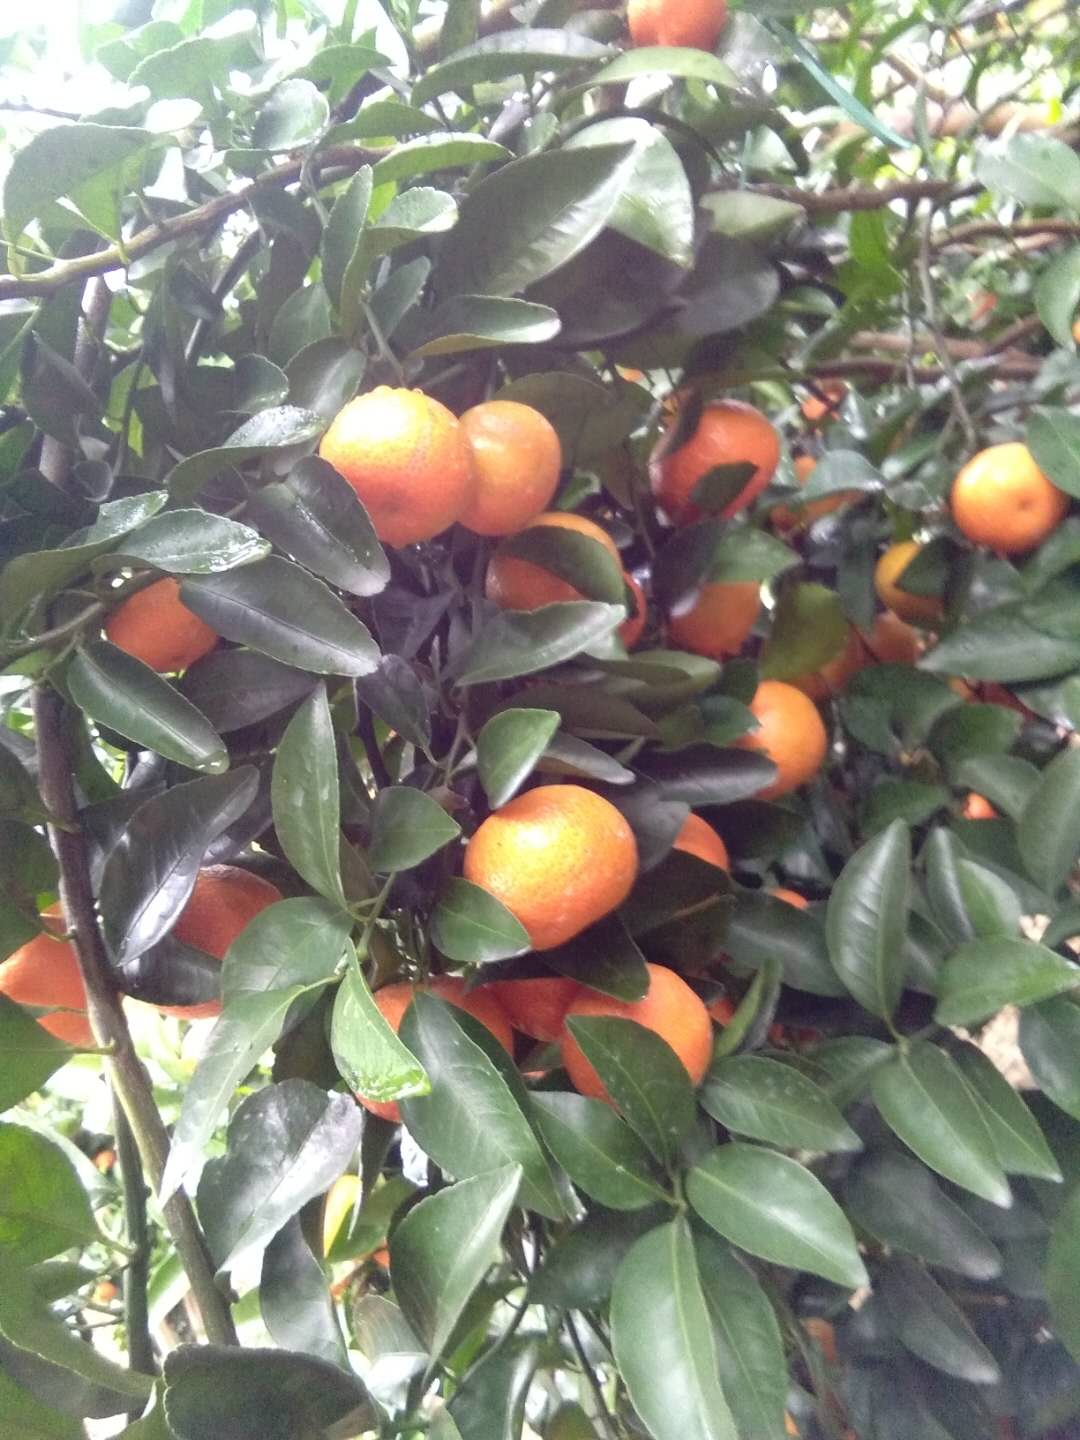
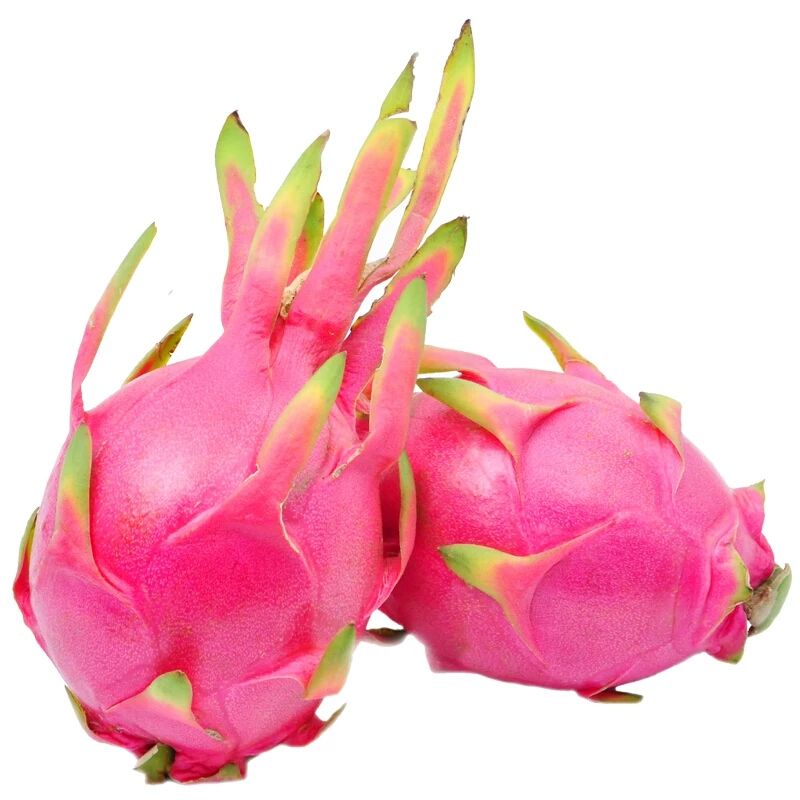
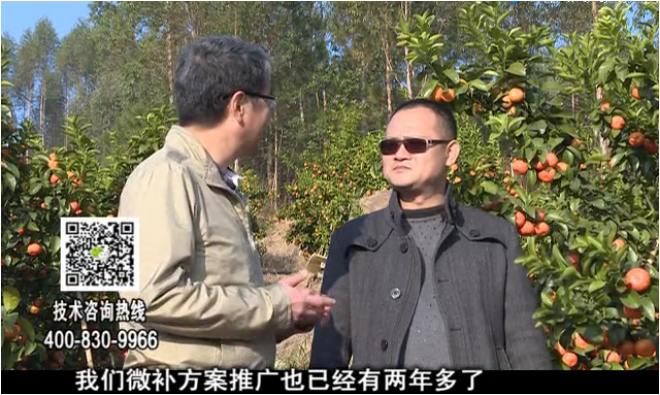
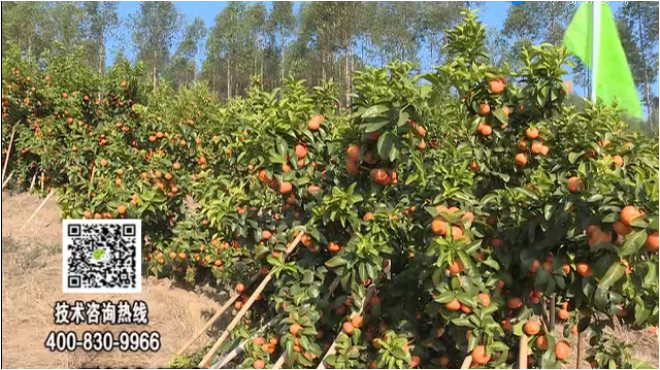
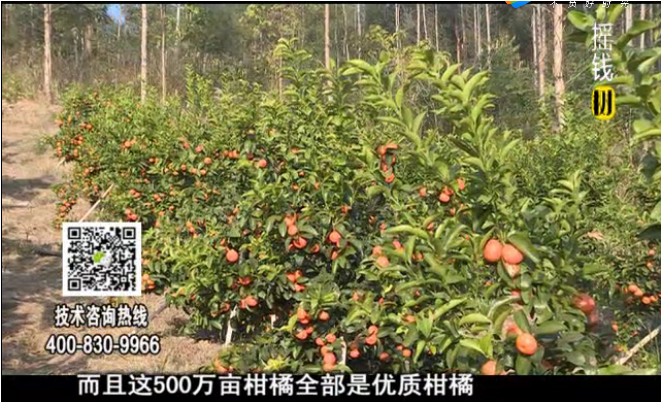
現(xiàn)在正是貢柑上市的季節(jié)�,溫州柑,南豐蜜桔�,早熟的砂糖橘也開(kāi)始陸續(xù)登場(chǎng)。砂糖橘����、沃柑、茂谷柑等也處在轉(zhuǎn)色期����,采果前也要好好管理,爭(zhēng)取賣(mài)出高價(jià)���。那么�,如何在采前進(jìn)行柑橘管理呢����?低溫天氣怎么進(jìn)行防護(hù)呢�?柑橘...
【查看詳情】
讓萬(wàn)千客戶(hù)展露笑容�����,微補(bǔ)一直在努力�!
")


 粵公網(wǎng)安備 44051202000093號(hào)